4 Step Professional DIY Nail Manicure at Home
- on 11.28.11
- Tutorial, Tutorial 教學
- No Comments
- Digg
- Del.icio.us
Regular maintenance and care is the most basic and effective way to keep your skin, hair and nails healthy. However, many women, particularly the busy OL always overlook the need to take care of their nails until they visit a nail salon.
It is actually very important to regularly maintain your nails at home even if you go to nail salon often. The reason behind is because even the best nail polish requires nails to be in a reasonable condition to make it look the way they are meant to be.
In between your visits to the nail salon you can always do home manicure yourself. Even though the result may not be as perfect as your nail technician’s work, it will still help to guarantee a healthier, stronger and tidier nails for better polishing result.
This home manicure procedures will only take you 20 minutes once a week using a few simple tools in a few simple steps as follow. You should do the home manicure procedures after shower.
Tool:
* 180 File
* Pusher
* Cuticle Oil
* Hand Cream
* Nail Strengthener,Top Coat,Nail Lacquer
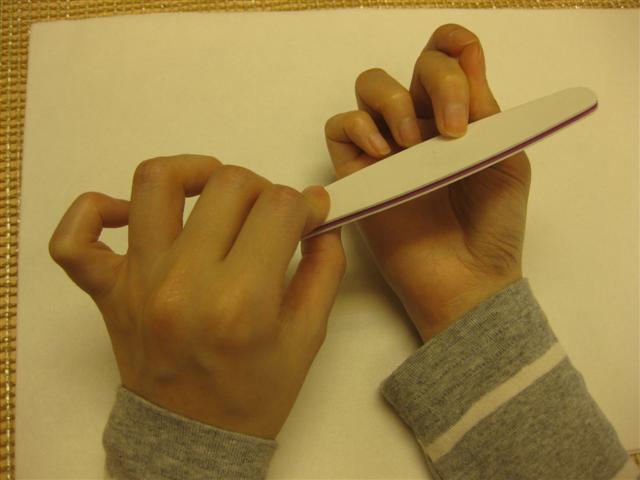
Step 1 ~ Remove dead skin
Tool: 180 File
Remove the hard skin with 180 file from the 2 sides of the nail and fingertips. File the hard skin off in single direction along the fingerprints .
Attention: This is a DRY process. Avoid rubbing.
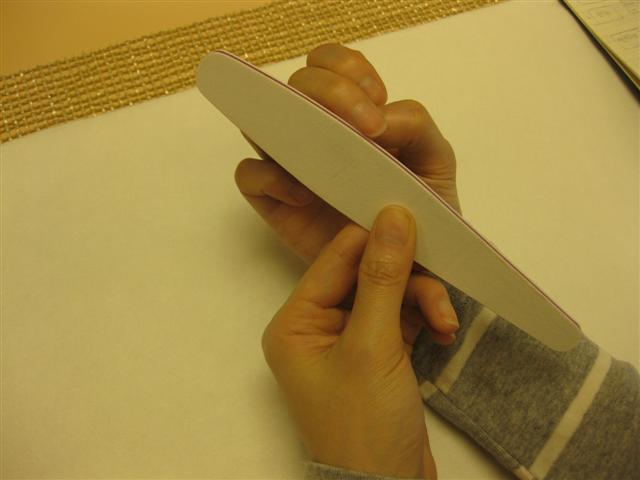
Step 2 ~ Shape the nails
Tool: 180 File
Shape your nails with the file. To achieve a square shape, place the file perpendicular to your nails and shorten the nails to the desired length, then round up both sides.
Attention: Do not to use nail clippers to shorten your nails. Nails are curved and clipping may apply pressure thus increasing the chances of splitting the nails.
Step 3 ~ Clear Cuticle
Tool: a) Pusher b) “Exfoliating cuticle treatment” or something similar, or simply use Cuticle Oil so you don’t have to buy too many similar products.
Apply sufficient cuticle oil to soften the cuticle first. Then use the pusher, following the curves and push the cuticle upwards gently. Clip away excess cuticle ONLY IF NECESSARY,.
Attention: Avoid strong force, just enough to apply pressure to push the cuticle up, not a downward force on the nails, otherwise you will damage the nails.

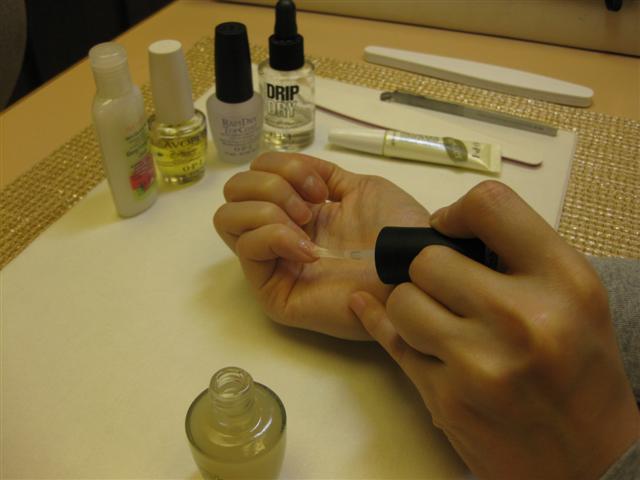
Step 4 ~ Final Touching
Tool: a) Cuticle Oil b) Hand Cream c) Nail strengthener
Clean your hands, massage on cuticle oil and hand cream. Rinse your hand. Finally apply 2 layers of nail strengthener, starting from the little finger to your thumb.
Attention: Ensure that all oil and hand cream has been removed before applying strengthener or lacquer.

Alternative: Buffing is a relatively long lasting method to make your nails shiny rather than applying nail strengthener. This is especially good if nails have an uneven surface.
Make Your Appointment Today!
Call Us: (852)2840-0660
Write to Us: rainbownails @ rainbownails.com.hk!
Leave a Reply